It happens every holiday season or special weekend dinner. You spend a premium on beautiful, translucent sea scallops, hoping to recreate that restaurant-quality, golden-brown crust at home. Yet, the moment the delicate protein hits the pan, the heat seemingly vanishes, the seafood boils in its own juices, and you are left with a rubbery, pale disappointment. For years, the culinary industry convinced the American public that high-tech, frictionless surfaces were the only safe haven for such delicate seafood preparation. But a quiet revolution is taking place in kitchens across the United States, driven by a growing frustration with modern cookware that inevitably flakes, scratches, and ultimately fails under pressure.
What if the secret to flawlessly seared shrimp and beautifully caramelized scallops was not found in a brightly packaged, synthetic-coated pan, but rather in a heavy, blackened relic hiding in the back of a thrift store or the bottom drawer of your oven? Experts are now pointing to a specific age milestone in cookware, completely contradicting the widespread belief that modern synthetic coatings are superior for delicate tasks. By abandoning easily damaged chemical surfaces for a meticulously cured, well-aged kitchen staple, home cooks are unlocking a hidden habit that naturally repels sticking while delivering explosive thermal power—all without the terrifying risk of toxic chemical peeling.
The Great Nonstick Exodus
For decades, home chefs have relied on pans coated in Polytetrafluoroethylene, commonly known as Teflon, for fear of their expensive seafood tearing or sticking. However, studies show that when these modern pans are heated beyond 500 degrees Fahrenheit—a temperature easily reached on a standard American gas stove—the synthetic coating begins to degrade, releasing invisible toxic fumes and shedding microplastics directly into your meals. This growing health and performance concern has sparked a massive shift toward Cast Iron, specifically vintage pieces that have crossed a critical 20-year aging milestone. Older pans were manufactured using a completely different milling process than today’s modern equivalents, resulting in a glass-like finish that rivals the slickness of any brand-new nonstick pan. When you cook delicate seafood on a vintage skillet, you are not relying on a chemical barrier; you are cooking on a naturally developed layer of polymerization that only gets stronger with time and use.
| Cookware Profile | Modern Nonstick (Synthetic) | Vintage Cast Iron (20+ Years) |
|---|---|---|
| Target Audience | Beginners seeking temporary convenience. | Culinary enthusiasts demanding lifelong durability and a perfect sear. |
| Surface Mechanism | Chemical coating that degrades over time. | Natural polymerization that improves with every use. |
| Heat Retention & Capacity | Low thermal mass; drops temperature rapidly when cold food is added. | Massive thermal retention; sustains high heat for explosive crust formation. |
| Safety & Health Benefits | Prone to toxic chemical peeling and flaking at high temperatures. | 100% natural; imparts trace dietary iron without synthetic contamination. |
But simply owning a heavy piece of traditional cookware is not enough; you must deeply understand the molecular science behind why it outperforms modern alternatives in the kitchen.
The Science of the Perfect Crust
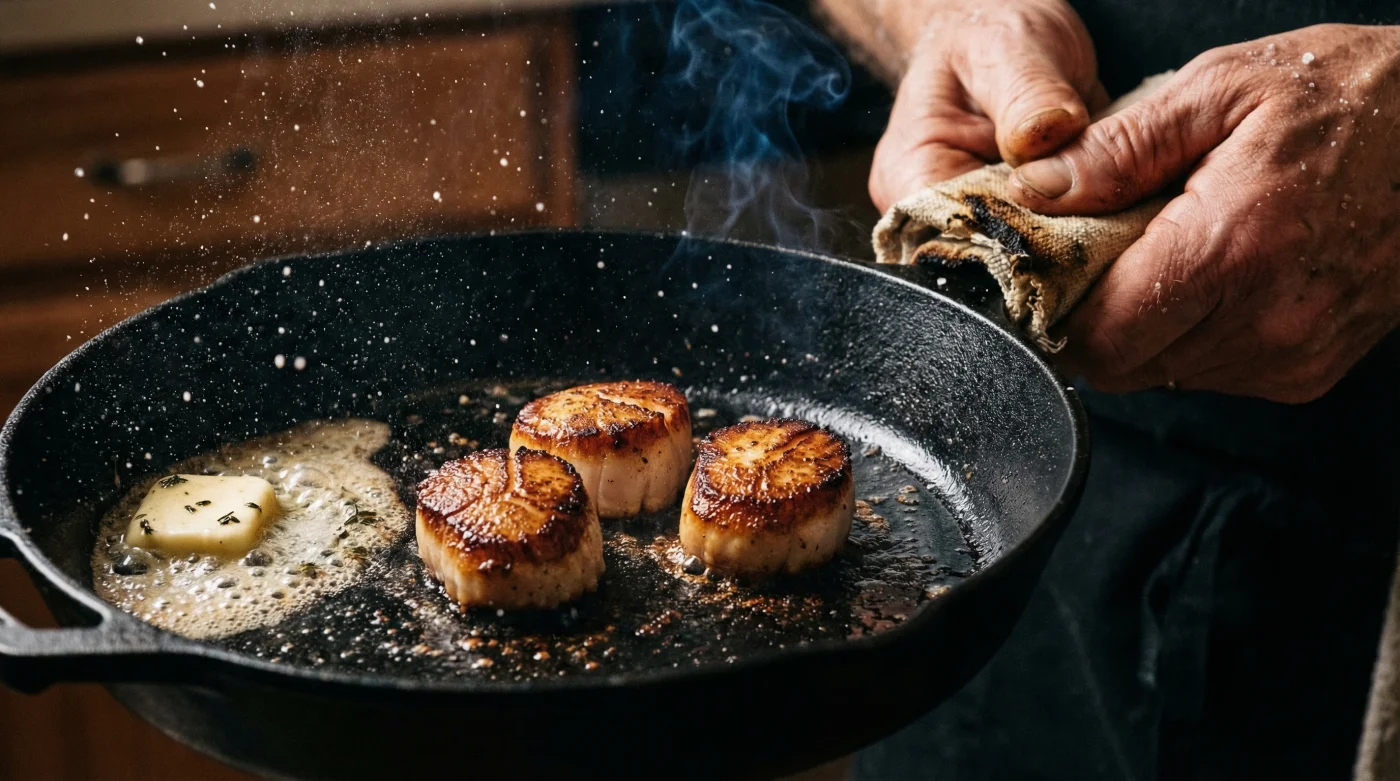
The primary reason modern pans fail at searing scallops or shrimp is their inability to hold onto heat. When you place a cold scallop into a lightweight pan, the ambient surface temperature plummets, stopping the Maillard reaction dead in its tracks. The Maillard reaction is the complex chemical interplay between amino acids and reducing sugars that gives browned food its distinctive flavor and golden crust. A well-seasoned Cast Iron skillet, owing to its sheer density, stores an immense amount of thermal energy. Once heated, it does not flinch when confronted with cold seafood. Achieving this requires precise dosing of heat and oil. Experts advise preheating your skillet for an extended period before the food ever touches the metal, utilizing oils with high smoke points to facilitate the perfect thermal transfer without generating bitter flavors.
| Culinary Action | Actionable Dosing / Measurement | Scientific Mechanism |
|---|---|---|
| Dry Pre-Heating | 5 to 7 minutes on medium-low heat. | Gradually expands the crystalline structure of the iron for even heat distribution. |
| Oil Application | 1.5 tablespoons of avocado or grapeseed oil. | Provides a high smoke point (above 400 degrees Fahrenheit) to prevent lipid breakdown. |
| Seafood Searing | Exactly 90 to 120 seconds per side. | Triggers rapid Maillard reaction before the internal protein structure overcooks and seizes. |
| Resting Phase | 3 to 5 minutes off the heat. | Allows superheated moisture to redistribute, preventing cellular rupture upon cutting. |
Once you master the thermal dynamics of your pan, identifying exactly what is holding back your culinary success becomes much easier to pinpoint.
Diagnostic Troubleshooting: Why Your Seafood Keeps Sticking
- Six month old ground cumin destroys delicate seafood taco flavor profiles
- Los Angeles health inspectors issue record closures for improper ceviche temperatures
- Spreading mayonnaise on white fish fillets creates an impenetrable nonstick crust
- Rinsing raw onions in cold tap water completely eliminates bitter aftertastes
- Knorr tomato bouillon powder perfectly replicates authentic Mexican seafood soup bases
- Symptom: Pale, rubbery scallops boiling in liquid. = Cause: You failed to thoroughly pat the seafood dry before cooking. Surface moisture turns to steam, crashing the pan’s temperature and preventing the Maillard reaction.
- Symptom: Seafood tearing aggressively when you attempt to flip it. = Cause: Forcing the flip prematurely. Properly heated Cast Iron will naturally release the protein once the crust is fully formed and carbonized.
- Symptom: The pan violently smokes the second oil is added. = Cause: Heating the dry pan beyond 500 degrees Fahrenheit or utilizing an improper cooking fat with a low smoke point, such as unclarified butter or extra virgin olive oil.
- Symptom: Flaky black specks attaching to your pristine shrimp. = Cause: Carbonized food buildup from improper cleaning rituals, which is often mistakenly identified as the seasoning layer peeling off.
Fixing these common thermal and preparation errors paves the way for securing a piece of vintage cookware that will literally outlive you.
The 20-Year Milestone: Finding and Restoring Vintage Metal
Not all skillets are created equal. The reason chefs specifically hunt for cookware older than twenty years—often stretching back to the mid-20th century—lies in the manufacturing process. Modern foundries typically leave their pans with a rough, sand-cast texture to cut costs and expedite factory seasoning. Conversely, vintage pieces from the early 2000s and prior were meticulously milled and polished by hand, resulting in a perfectly smooth, glassy surface. This age milestone marks the difference between a pan that aggressively grips delicate fish and one that allows a scallop to glide effortlessly across its surface.
The Top 3 Markers of Quality
When scouring estate sales, antique shops, or online marketplaces for your ultimate kitchen workhorse, you must know how to separate valuable culinary tools from warped scrap metal. First, check for absolute flatness by placing the pan on a glass surface to ensure it does not wobble. Second, run your fingers across the cooking surface; it should feel remarkably smooth, devoid of deep pitting or aggressive bumps. Third, inspect the casting weight—vintage skillets are remarkably lighter and thinner than their modern, bulky counterparts, allowing for faster response times on the stove.
| Cookware Component | What To Look For (The Vintage Standard) | What To Avoid (Modern Pitfalls) |
|---|---|---|
| Cooking Surface Texture | Machined smooth, feeling almost like polished stone or glass. | Rough, pebbly, sandpaper-like textures that snag delicate proteins. |
| Structural Integrity | Sits perfectly flat on a modern glass-top or induction stove. | Spinners (pans that wobble) caused by severe thermal shock and warping. |
| Weight & Wall Thickness | Relatively lightweight with thin walls for highly responsive heat control. | Overly thick, excessively heavy castings that take 20 minutes to heat up. |
Armed with the knowledge of what to seek out, establishing a daily routine to protect your new investment is the final step in your culinary transformation.
The Daily Maintenance Protocol
The greatest myth surrounding Cast Iron is that it is incredibly difficult to maintain. In reality, modern synthetic pans require far more delicate handling to avoid scratching their fragile chemical layers. To maintain the naturally slick, polymerized surface of a vintage pan, you simply need to follow a consistent thermal and hydration protocol. Experts advise washing the pan while it is still warm—using modern dish soap is perfectly acceptable, as today’s mild detergents will not strip baked-on polymer resins like the harsh lye soaps of the past. Once clean, the absolute most critical step is thoroughly drying the pan on a low stovetop burner for exactly 3 to 4 minutes.
After the residual moisture has completely evaporated, apply a microscopic layer of neutral oil—roughly half a teaspoon—and buff it out entirely with a paper towel until the pan looks almost dry. This micro-layer of fat bonds with the iron as it cools, constantly reinforcing the nonstick barrier. Never leave your vintage skillet in the sink to soak, and never run it through a modern dishwasher, as the extreme caustic environment will strip decades of hard-earned seasoning and introduce deep, aggressive rust. By treating the metal with respect, you are actively building a culinary heirloom that improves with every single meal.
Embracing this simple, science-backed ritual ensures your kitchen remains a sanctuary of safe, restaurant-quality cooking for decades to come.